
Are you looking for a way to organize your keys that are not only functional but also creative and unique?
Then why not try making a Lippan art key holder?
With just some basic materials like clay, nails, and paint, you can craft a beautiful and eye-catching piece of art that will be the envy of all your friends.
Get ready to be inspired, and start your creative journey today!


Key Takeaways
- Knead and roll out the clay to create a soft and pliable base for the Lippan art key holder.
- Shape the clay using various techniques like smoothing, cutting, and sculpting to create intricate patterns.
- Attach mirrors to the design using nails or glue, considering placement and ensuring an even surface.
- Paint the Lippan art key holder with vibrant colours, using techniques like brush painting and blending colours for desired effects.
Materials needed
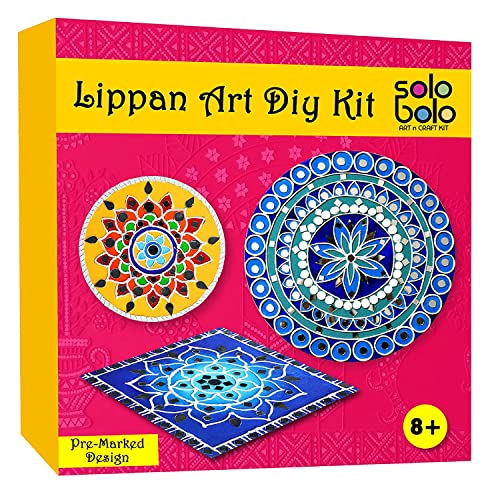
To make a unique Lippan Art Key Holder, you’ll need clay, a wooden plank, nails, a hammer, paints in various colours, brushes, mirrors, beads, and sequins.
Start by exploring different clay textures, shapes, and sizes to create the key holder’s design.
Then, choose paint colours that reflect your style and look for unique beads and sequins to add extra sparkle and shine.
For the key hooks, you can choose traditional metal or plastic options or get creative with wood or clay.
Lastly, you can use lippan art to make decorative wall hangings, mirrors, and frames.
With the right materials and some creativity, you can make something truly special.
- Editor’s Choice

- Best Seller
- Amazon Choice


Prepare the clay base
To create your Lippan art key holder, start by gathering the necessary materials. Work the clay through kneading until it reaches a soft and malleable consistency, then roll it out to achieve your desired size. Use the techniques from the table below to shape the clay:
| Technique | Skill Level |
|---|---|
| Smoothing | Beginner |
| Cutting | Intermediate |
| Sculpting | Advanced |
Mix the colours to create the desired shades, then dry the clay thoroughly. This step should not be rushed. Once the clay is dry, paint the colours and add the finishing touches, such as mirrors, beads, and sequins. By following the appropriate steps and employing the right techniques, you can craft a striking and distinctive art piece to adorn your door.


Shape the Lippan art design
Shape the Lippan Art Design using various techniques. Start by drawing inspiration from patterns and designs for a personalized piece.
Select the right tools, such as a wooden plank, nails, hammer, paints, brushes, mirrors, beads, sequins, and clay.
Use light pressure and a steady hand when shaping the clay. Create intricate patterns with the nails, and paint the piece with vibrant colours.
Add mirrored pieces, sequins, and beads for a unique look.

Allow the piece to dry completely before attaching it to the wooden plank.
With creativity, inspiration, and the right tools, you can create beautiful Lippan Art.
- Editor’s Choice

- Best Seller
- Amazon Choice


Attach mirrors to the design
Once you have finished shaping your Lippan Art design, you can attach mirrors or other decorations such as beads, sequins, and paints to enhance the look further.
When it comes to mirror placement, consider adding them to the centre of the design to give it an eye-catching effect or around the edges for a unique and vibrant look.
Mirror attachment is fairly simple. You need to make sure that the surface where the mirror will be placed is even, and then you can use nails to secure the mirror. However, if you don’t want to use nails, you can also use glue. But, if you use glue, make sure that it’s strong enough to hold the mirror in place.
Enhancing the design with mirrors or other decorations is a great way to give it a unique look.
Adding mirrors or other decorations to your Lippan Art design can be a great way to create a unique and eye-catching look. Consider the mirror placement, selection, and attachment techniques, as well as alternatives such as beads, sequins, and paints, to create an innovative and captivating design.
Paint the Lippan art
To create a unique and vibrant Lippan Art design, select colours that suit the desired effect. For a subtle look, choose complementary colours, or for a bolder design, choose contrasting colours.
Painting techniques such as using a brush to paint beads and sequins onto the wood plank, blending colours with a sponge, and using a dry brush to add texture can be used to create intricate designs.
To finish, add a glossy finish and/or glitter paint or metallic colours for a sparkly touch.
By following these straightforward steps, you can metamorphose a plain wooden plank into a stunning and attention-grabbing key holder.
- Editor’s Choice
- Best Seller
- Amazon Choice


Decorate with beads and sequins
Create a unique Lippan art key holder by decorating it with beads and sequins. Use different sizes, colours and arrangements to add texture, contrast and depth.
Start by laying the beads and sequins on the wooden plank. Attach with glue or nails. Experiment with patterns and design for a personalized touch.
Finish by admiring your work. Let the beads and sequins spark your creativity and bring your project to life.
Secure the key hooks
Secure your key holder with nails by hammering them into the wooden plank. Choose materials like clay, mirrors, and beads to customize and personalize your key holder. Add paints and sequins for a unique touch.
For maximum efficiency, use more nails for additional hooks. Complete the look with colours that match your home decor, natural materials like wood, stones, and shells, or a unique pattern with different shapes. Glitter and sparkles can also brighten up any area.
Hang it on the wall or attach it to a door for convenience.
- Editor’s Choice

- Best Seller
- Amazon Choice


Attach the Lippan art to the wooden plank
You can attach the Lippan art to the wooden plank with traditional techniques. Start by gathering your clay and getting to work. You can enhance the design with materials such as beads, sequins, and mirrors.
When finished, secure the edges of the clay with nails and a hammer. To ensure a lasting bond, you can apply a clear coat of paint.
With this simple process, you can create a unique and stylish key holder that can be used as a decorative item in your home.
Hang and organize your keys
Creating a DIY key rack is a great way to hang and organize your keys. Start by attaching the Lippan art to a wooden plank.
Then, get creative with key storage solutions. Here are some ideas to make a functional and decorative key holder:
- Use beads and sequins to make a colourful pattern.
- Mount mirrors to give the plank a reflective effect.
- Paint the plank in various colours to add a pop of colour.
- Hang hooks or nails to hang your keys.
These tips will help you get the most out of your key holder. With a little imagination, you can create a stylish and organized way to keep your keys in one place.
Add a touch of personality to your home with a creative and functional key holder.

Conclusion
Congratulations! You now have a beautiful and unique lippan art key holder that will be the envy of all.
With your creativity, you have created a work of art that will be admired by all who see it.
Hang it up, organize your keys, and get ready to show off your masterpiece!
Who knows, you might even inspire others to make their own!


