
Are you prepared to unleash your inner artist? Let your creativity flow!
With just a few simple ingredients and a few minutes, you can make homemade moulding clay.
This innovative, no-fuss craft is guaranteed to bring out your creativity, and you’ll be amazed at the fun, vibrant colours you can create.
So go ahead, get creative and make your own mouldit clay today!


Key Takeaways
- Mouldit clay can be made at home using cornstarch, white glue, white vinegar, cooking oil, and optional food colouring.
- The process involves combining cornstarch and white glue, slowly adding vinegar, and kneading the clay to incorporate all the ingredients.
- Tips for working with Mouldit clay include kneading and shaping slowly, using a rolling pin for larger projects, adding cooking oil to prevent drying, and storing unused clay in an airtight container.
- Safety precautions when making Mouldit clay include wearing gloves and a mask, working in a well-ventilated area, keeping children and pets away, and cleaning up the workspace immediately.
Materials Needed to Make Mouldit Clay at Home
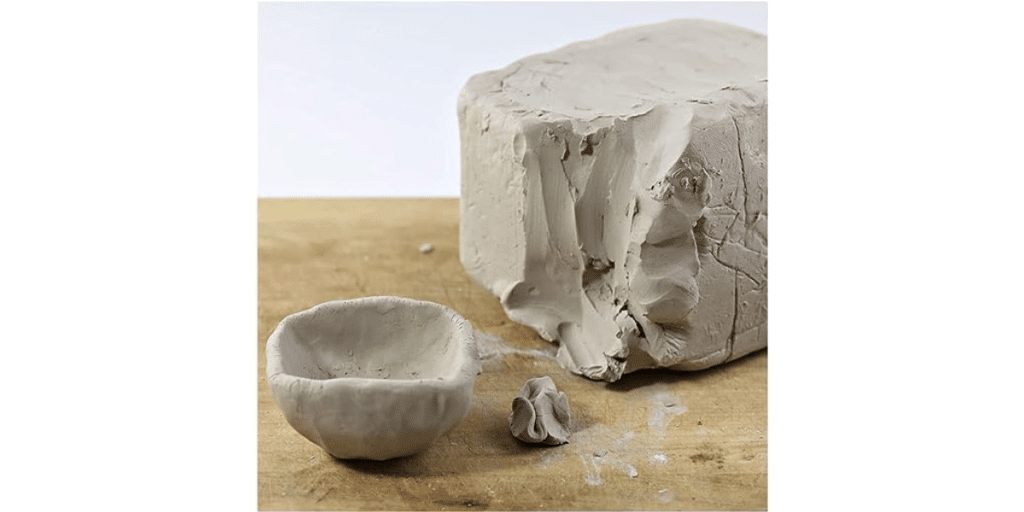
You’ll need cornstarch, white glue, white vinegar, cooking oil, food colouring (optional), a mixing bowl, and measuring cups and spoons to make Mouldit clay at home. This clay is perfect for crafting and creating unique, innovative projects. All you need is a few simple ingredients to get started. Gather your supplies and get ready to make your very own Mouldit clay.
The first step is to mix the cornstarch and the glue in a bowl. Keep kneading the mixture until it comes together and forms a dough-like consistency. Slowly add in the white vinegar, a teaspoon at a time, and mix until fully incorporated. If you’d like to add a splash of colour, a few drops of food colouring does the trick.
Knead the clay until it’s smooth and pliable. If it’s too dry, add a small amount of cooking oil to keep it from cracking. Continue kneading until it reaches the desired texture. And, you’re done!
Store any leftover clay in an airtight container to prevent it from drying out. You can use this clay for a variety of projects, all while having fun and getting creative. So, what’re you waiting for? Start making Mouldit clay today!
Step-by-Step Process to Make Mouldit Clay at Home
Follow these steps to make your own Mouldit clay at home:
- In a bowl, mix 1 cup of cornstarch and 1/2 cup of white glue.
- Use a spoon to mix the ingredients together until they form a dough-like consistency.
- Slowly add the white vinegar, 1 teaspoon at a time, while continuing to mix. This will help activate the cornstarch.
- To add colour, mix in food colouring drops until desired shade.
- Knead the clay with your hands to incorporate all the ingredients.
- If the mixture seems dry, add a small amount of cooking oil to moisten.
- Knead and add oil or vinegar as needed until the clay reaches the desired texture.
- Once the clay is smooth and moldable, it’s ready for your creations.
- It is important to store leftover clay in an airtight container to keep it from drying out.
With these simple steps, you can make your own Mouldit clay at home and craft away!
- Editor’s Choice

- Best Seller

- Amazon Choice


Tips for Working with Mouldit Clay
Using Mouldit clay is easy once you get the hang of it. Here are some tips to help you create amazing sculptures and models with this versatile material:
- Knead and shape the clay slowly and gently to maintain the desired texture.
- Use a rolling pin for larger projects to get a more even surface.
- To keep the clay pliable, add a few drops of oil as needed.
- To prevent clay from drying out, storing unused clay in an airtight container is recommended.
- Use various tools, such as sculpting knives, to add texture and detail to your project.
By following these simple tips, you can explore your creativity and make unique sculptures and models with Mouldit clay.

With practice, you’ll be able to use this material to create beautiful and unique artwork.
Safety Precautions when Making Mouldit Clay at Home
When making Mouldit clay at home, take necessary safety precautions to protect yourself and your workspace. To avoid any contact with the ingredients, it is recommended to wear protective gloves and a mask. Make sure to work in a well-ventilated area, as the vinegar can give off strong fumes. Additionally, keep small children and pets away from the clay-making area and clean up the space immediately after use.
| Precaution | Description |
|---|---|
| Wear gloves and a mask | Avoid contact with ingredients |
| Work in a well-ventilated area | Avoid strong fumes from vinegar |
| Keep children and pets away | Avoid accidental ingestion |
| Clean up workspace immediately | Prevent contamination or injury |
Making Mouldit clay is an innovative way to create beautiful art pieces and crafts. Taking the necessary safety precautions is essential for a successful project and a safe workspace. With Mouldit clay, a wide variety of masterpieces can be created with the right supplies and a bit of creativity.
- Editor’s Choice

- Best Seller

- Amazon Choice


Ideas for Using Mouldit Clay in Crafts and Projects
With Mouldit clay, you can create a variety of fun and unique crafts and projects. The possibilities are endless, from figurines and jewellery to decorations and home decor. Here are some ideas to get you started:
- Make an ornament or decoration for your home or office.
- Create jewellery pieces like necklaces, bracelets, and earrings.
- Create a sculpture or figurine to give as a gift.
- Design an original tile or coaster to add to your decor.
- Create a custom keychain or bookmark.

The best part about Mouldit clay is that it’s easy to work with and can be moulded into almost any shape or form. Plus, the finished product is lightweight and durable, so it will last for years to come.
Unleash your creativity and have fun creating unique and exciting projects with Mouldit clay!
Common Mistakes to Avoid when Making Mouldit Clay at Home
Avoiding common mistakes while making Mouldit clay at home can help you create successful projects. Make sure to use the exact amounts listed in the recipe when measuring ingredients. Too little cornstarch and glue can result in a clay that’s too crumbly, while too much will make it too sticky.
As you’re mixing the ingredients, adding the white vinegar slowly is important. Adding too much can cause the clay to be too wet and difficult to work with. As you’re kneading the clay, it should be soft and pliable. If the clay feels too dry, add a small amount of cooking oil to make it more pliable.
Be sure to store any unused clay properly in an airtight container to keep it from drying out. With a little patience and attention to detail, you can create a unique Mouldit clay that’s perfect for your craft and project needs.
- Editor’s Choice
- Best Seller
- Amazon Choice


Alternative Ingredients or Substitutions for Mouldit Clay
Try using alternative ingredients or substitutions for Mouldit clay to make a unique project. While the classic combination of cornstarch, glue, oil, vinegar, and food colouring will make dependable clay, there are a few other ingredients that can be used to make clay with different characteristics. Here are some of the most popular substitutes:
- Cornmeal: Cornmeal is a coarser option than cornstarch and provides a slightly different texture.
- Cream of tartar: This ingredient can be used to add a bit of elasticity to the clay.
- Liquid starch: This is a great option for those who want to make a clay that hardens when it dries.
- Salt: A small amount of salt can be used to make the clay more durable.
- Fruit juice: Some varieties of fruit juice have the potential to create an edible clay, albeit with a consistency that is less firm compared to the traditional recipe.
No matter what ingredients you use, you can experiment with different combinations to create a clay with unique properties. Have fun and be creative!
- Editor’s Choice
- Best Seller

- Amazon Choice


Conclusion
Making mouldit clay at home is a fun and creative activity for all ages and abilities. With only a few ingredients and tools, you can create customized clay in any colour or texture.
So don’t wait any longer; grab your supplies and get started on your very own mouldit clay creation! Your masterpiece awaits!


