Unlock your inner artist and explore a world of unique creativity with Lippan art.
Discover how to create intricate clay patterns on wood.


Unleash your imagination and create a masterpiece that brings beauty and joy into your life.
Turn a plain piece of wood into a unique, timeless masterpiece.
Key Takeaways
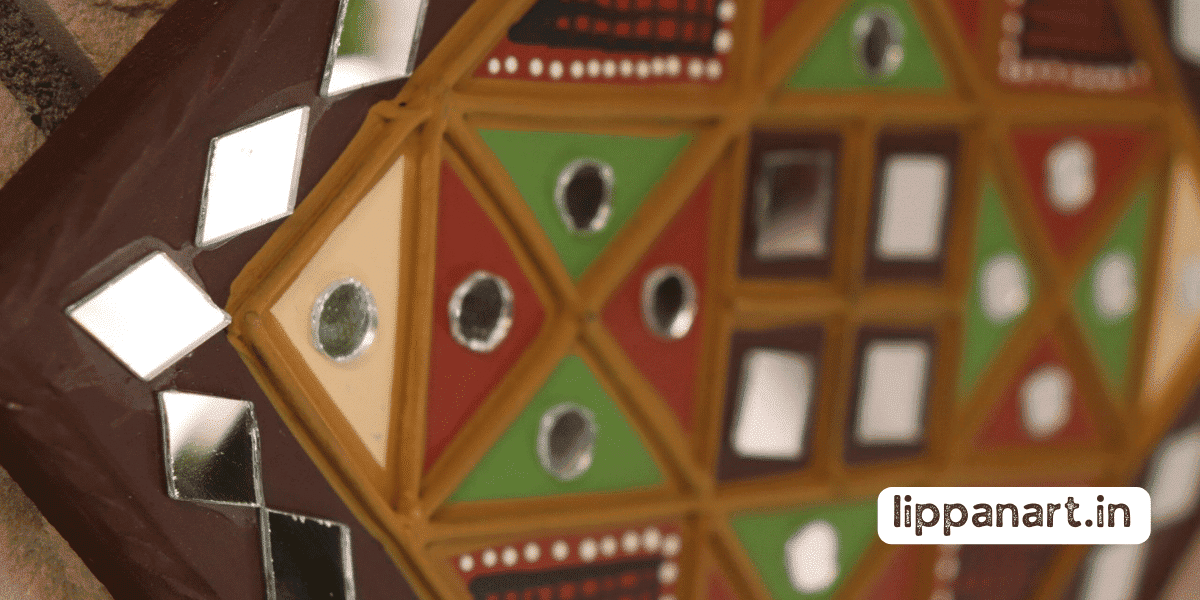
- Lippan art is a traditional Indian art form that uses mud and mirrors to adorn surfaces.
- Gathering supplies and proper preparation are essential for achieving desired results.
- Applying the clay to the wood surface requires the use of the right materials and techniques.
- Creating unique patterns and designs by experimenting with colours, shapes, and tools is key in lippan art.
Gather Supplies
Gather the supplies you need for your Lippan Art project, including clay (in a variety of colours and textures), mirrors, a brush, and a wood surface. Ensure you have the necessary tools for mixing, sealing and drying the clay.
Experiment with different clay types and sealing techniques to create unique designs and protect the clay from water, dust and other elements.
Use the right drying methods to ensure the clay adheres to the wood surface, and you can create a beautiful Lippan Art piece that will last for years.

Preparing the Clay
When creating Lippan Art, prepping the clay is essential. Use traditional methods such as rolling, flattening, and combining small pieces of clay to add texture. You can also use tools, stamps, and decorative elements. The type of clay you choose will affect the look and drying time. Consider the following:
| Clay Choice | Moulding Techniques | Drying Time |
|---|---|---|
| Polymer | Rolling | 24 hours |
| Air Dry | Flattening | 1-3 days |
| Salt Dough | Combining | 5-7 days |
Choose the right clay and techniques to achieve the desired look and drying time. With the right approach, you’ll be able to create a unique design with texture and depth.
- Editor’s Choice

- Best Seller
- Amazon Choice


Applying the Clay
Before applying the clay to the wood, make sure to prepare the surface by cleaning it and removing any dirt or debris.
To achieve the desired effect, mix the colours of the clay and use various tools and techniques to create texture variations.
Brush over the clay to blend the colours and create an even finish.

With the right materials and techniques, unique and beautiful lippan art can be created.
Creating Patterns
Once you’ve applied the clay, you can start creating patterns by pressing in your tools and pressing out to make designs. Experiment with colour combinations and shapes to find unique designs. When creating captivating designs using various tools, it is important to select colours that complement each other.
Get creative and choose patterns that reflect your style, from abstract to traditional. Take your time to experiment with colours and shapes for one-of-a-kind patterns. With the right tools and colours, you can create amazing patterns that will make your woodwork come alive.
- Editor’s Choice
- Best Seller
- Amazon Choice


Finishing Touches
To complete your Lippan Art, use paint to highlight details and add embellishments. Bright and vivid shades will make your artwork pop, and darker colours can be used for a textured look.

Monochromatic colour palettes offer a subtle effect. Finally, seal the artwork with a layer of varnish or lacquer to protect it and add accessories such as stones, shells, and beads for a unique look.
With the right finishing touches, your artwork will be stunning.
Caring for Your Lippan Art
Once you’re finished, you’ll need to care for your Lippan Art to maintain its look. Cleaning techniques, humidity control, and storage solutions are key components.
Use a soft cloth to wipe away dust and dirt. For tougher cleaning, use a mild soap and water solution.
Keep humidity between 50-70% to prevent mould, mildew, cracking, and fading of colours.
Store in a dry, dark place, away from direct sunlight and moisture. Use airtight containers and padded board with bubble wrap for protection when moving.
- Editor’s Choice
- Best Seller

- Amazon Choice


Troubleshooting Tips
If you’re having trouble with your Lippan Art, don’t worry – here are some tips to help you master this craft:
- Sealing cracks: Seal any cracks or holes in the wood before beginning your artwork to prevent clay seepage.
- Fixing mistakes: Gently scrape away clay and rework the design if you make an error.
- Clay consistency: Keep clay moist, but not too wet, in a sealed container.
- Wood selection: Softwoods are better suited for intricate designs.
- Design selection: Choose a design that matches your skill level and work your way up.
Conclusion
Congratulations! You’ve now mastered the art of lippan.
After gathering your supplies, preparing the clay, applying it, and creating patterns, you can now enjoy the beauty of your lippan art for years to come.
Remember, if you run into any issues, don’t worry—just take a deep breath and trust your artistic instincts.
With a little bit of practice, you’ll be a lippan master in no time—no sweat!


