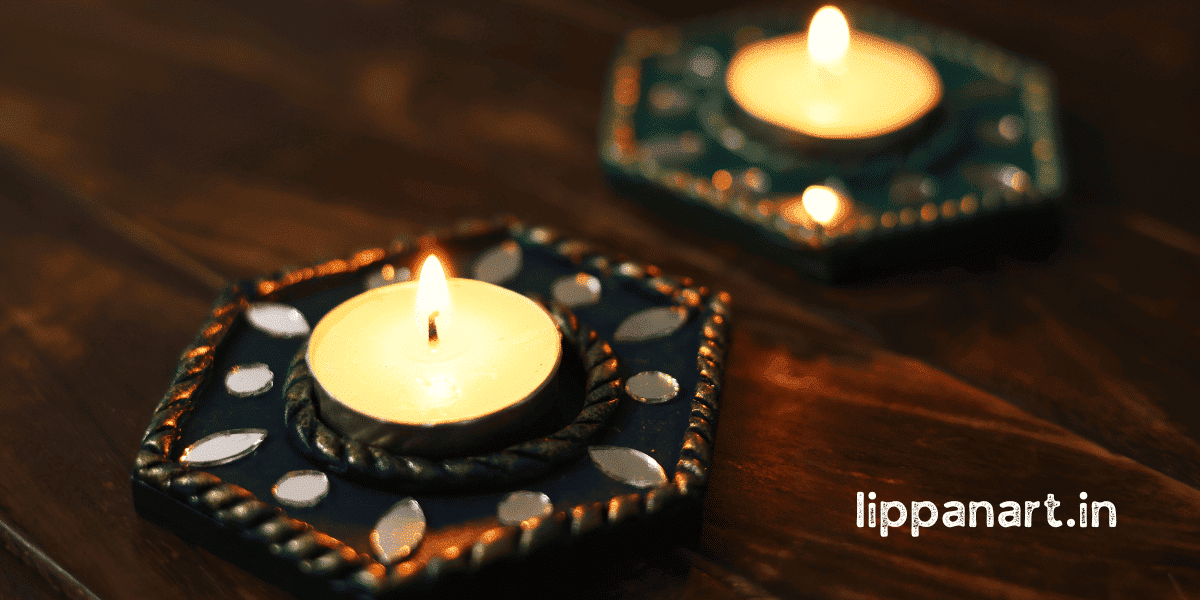
If you’re looking for a creative way to light up your home, try making a lippan art candleholder! With a few simple materials and a little bit of time, you can make an eye-catching centrepiece that’s sure to impress.
Keep in mind to adhere to the recommended guidelines for optimal results, from selecting the appropriate base material to properly sealing your artwork. By doing so, you’ll relish the presence of your distinctive lippan art candle holder for many years to come!


Key Takeaways
- Choose the right base material and experiment with designs to find the desired outcome.
- Take care in the mud mixing process by understanding ratios, texture, consistency, and pigment selection.
- Use colour pigments sparingly to balance and soften the colour palette, emphasize texture, and consider environmental factors.
- Allow sufficient drying time and properly seal the artwork using appropriate tools, organic ingredients, and fire-resistant options.
Do Choose the Right Base Material
When creating a Lippan art candle holder, it’s important to choose the right base material. Terracotta and ceramic are the two most common materials used for this craft, each offering its unique benefits.

Terracotta is easier to work with and malleable, making it ideal for beginners. Ceramics is more durable and requires more experience to craft intricate designs. Both materials are great choices if you take the time to research and experiment.
When you have found the right base material, you can start to combine colours, prepare clay, try designs, burn wax, and add finishing touches to create a unique piece of art.
With the right mix of materials and creativity, you can create something that will bring light and joy to your home.

Don’t Rush the Mud Mixing Process
Creating a beautiful Lippan art candle holder requires great care and skill. To ensure the perfect mud mix is achieved, it’s important to take your time and be precise. The following steps should be taken for an optimal outcome:
- Understand the correct mixing ratios.
- Choose the right base texture for the clay.
- Ensure the clay has the right consistency.
- Select the right pigment for the candle size.
Mixing the mud requires patience and accuracy. Be sure to get the right ratios and textures for the foundation of your candle holder. The consistency and pigment selection should also be taken into account so the finished product looks great. Consider the candle size you’re creating, as this will determine the type of pigment you need.
Do Focus on Precision in Design
Creating a successful Lippan art candle holder requires precision. Experiment with shapes, add texture and work with clay to create your desired design.
When applying the glaze, use a gentle touch and take your time to ensure an even finish and secure all layers for stability.
Incorporate creativity when crafting the design; explore different shapes and textures and use colours and patterns for a dazzling effect.
Double-check your work before firing the clay for a candle holder of the highest quality that will last for years.
- Editor’s Choice

- Best Seller


Don’t Overuse Color Pigments
When crafting a candle holder with lippan art, it’s important to use colour pigments sparingly to avoid a harsh appearance. Experiment with patterns, using colour pigments to emphasize texture and select complementary colours to create contrast and interest. Consider environmental factors such as the lighting in the room and the colours of the other furniture when selecting colours.
Here are four tips to keep in mind when using colour pigments:
- Balance and soften the colour palette to avoid harshness.
- Use colour pigments to emphasize texture in patterns.
- Select complementary colours to create contrast and interest.
- Consider environmental factors when selecting colours.
Do Allow Sufficient Drying Time
Creating a beautiful and long-lasting piece of lippan art requires patience and care. To ensure the best results, use proper tools, wear gloves, and use multiple layers and techniques in your design.
Additionally, try using organic ingredients for a unique look. It’s important to remember that the drying time between layers is essential; allow at least 24 hours for each layer to dry completely. If the layers aren’t given enough time to dry, the art won’t be as vibrant, and it may not be as durable.

To ensure a vibrant and durable piece of art, be sure to give the art the time it needs to dry in between layers. With an appropriate level of care and patience, you can fashion a truly unique work of art that is guaranteed to endure for years to come.
- Editor’s Choice
- Best Seller

- Amazon Choice


Don’t Forget to Seal the Artwork
Creating a lippan art candle holder is a creative process that should be protected with a proper sealant. To ensure it’s done correctly, consider the following steps:
- Choose sealant options designed for lippan art candle holders.
- Select protective coatings that can withstand the heat of the candle.
- Use the correct tools, such as a small brush, for application.
- Make sure the sealing options you use are fire-resistant.
By following these rules, you’ll be able to protect your artwork and ensure it looks great and lasts for many years.
Don’t forget to seal the artwork properly!
Do Consider Complementary Candle Styles
When creating a lippan art candle holder, consider investing in complementary candle styles. This will allow you to mix techniques, prepare the base, and express yourself artistically.
Selecting the right colours is essential for the desired outcome, and safety precautions should be kept in mind.
When selecting the ideal candle style, consider the dimensions, form, and colour of the lippan art candle holder. If you’re using multiple colours, pick a candle that will emphasize the colours in the artwork. If a single colour is used, select a candle that either blends in or stands out.
If the candle holder is for a special occasion, mix and match different candle styles for a unique look. For a gift, select styles that will match the recipient’s personality.
When selecting candle styles, be sure to research the safety precautions associated with each. Place the flame away from the artwork, and use an appropriate type of candle for the candle holder. Also, keep the flame away from any flammable materials, such as curtains or wall hangings.
Complementary candle styles will help you create a unique and beautiful lippan art candle holder. Taking the time to select the right candle style and following safety precautions will ensure your candle holder is beautiful and safe.
- Editor’s Choice
- Best Seller
- Amazon Choice


Don’t Place Near Flammable Materials
When crafting a lippan art candle holder, it’s important to practice proper safety and be mindful of your placement. To ensure that your candle holder is set in a safe spot, here are a few guidelines to follow:
- Select a suitable size candle holder for the area you’re working in, taking into account your safety as well as the placement of nearby flammables.
- Avoid any sources of heat, such as radiators, stoves, or any other open flames.
- Utilize quality tools to ensure the candle holder is placed securely and won’t move or fall over.
- Place the candle holder a safe distance away from any curtains, books, furniture, or other combustible materials.
By following these steps, you can be confident that your lippan art candle holder is both safe and beautiful.
With the proper size, quality tools, and correct placement, you can create artwork that will last for years.
Conclusion
Creating a lippan art candle holder may seem daunting, but with a few simple dos and don’ts, you can create a unique and beautiful piece of art.
Remember to choose the right base material, focus on precision in design, and allow for adequate drying time.
Don’t forget to seal your artwork and consider complementary candle styles.
With a little patience, you’ll have a stunning candle holder that will be the envy of everyone who sees it.


